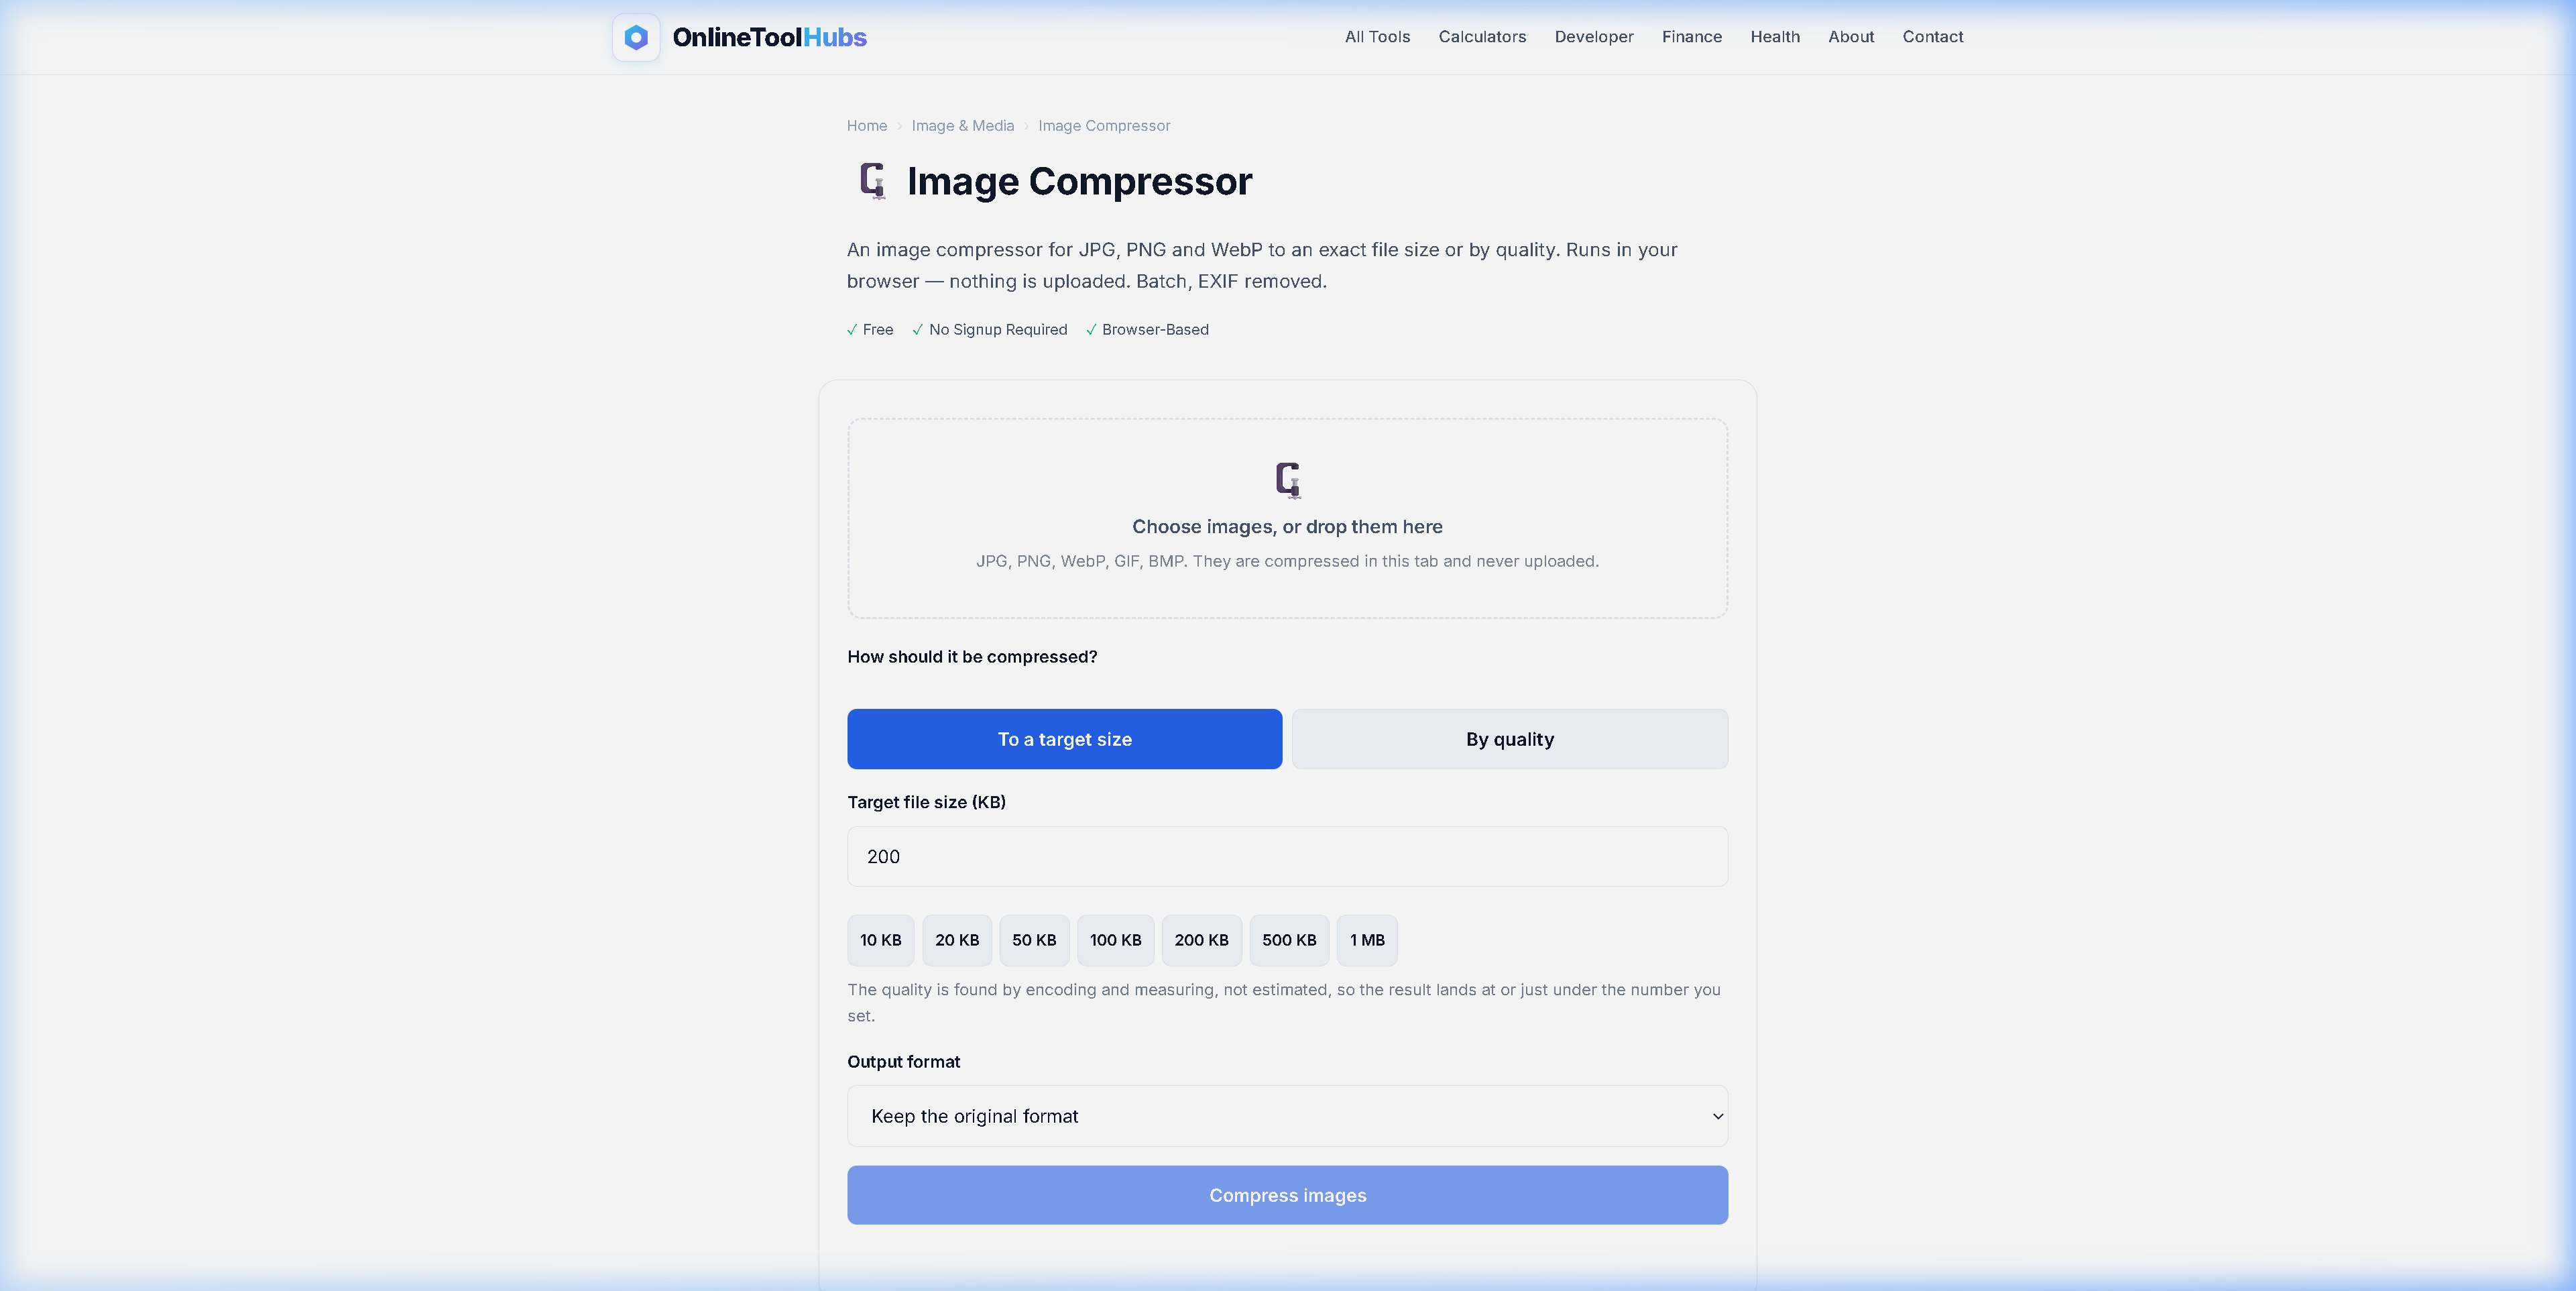
Images make up most of the file size of a typical web page. A single uncompressed photo from a modern smartphone can be 5-15 MB, and a page that loads several of them gets slow, costs more in bandwidth, and frustrates visitors. Oversized images also eat through storage limits and upload caps on social media, email, and cloud storage.
Image compression cuts file size while keeping the picture looking the same. Most online compression tools, though, require you to upload your photos to a remote server, which is a problem when the images are personal photos, confidential documents, or other sensitive material.
The Image Compressor on OnlineToolHubs processes your images in your browser, so your photos never leave your device.
What Is Image Compression?
Image compression reduces the file size of an image by removing redundant data. There are two types:
Lossy Compression
Lossy compression permanently removes some image data that the human eye can barely perceive. JPEG is the most common lossy format. At quality settings of 75-85%, the file size drops 60-80% with virtually no visible difference.
Lossless Compression
Lossless compression reduces file size without losing any image data, so the decompressed image is identical to the original. PNG uses lossless compression. The size reduction is smaller (typically 10-50%), but the quality is unchanged.
Why Compress Images?
Faster Website Load Times
Google uses page speed as a ranking factor, and images are typically the heaviest assets on a page. Compressing them from 5 MB to 500 KB improves load time and Core Web Vitals scores noticeably.
Save Storage Space
Compressed images take up less space on your hard drive, cloud storage, and hosting provider. That adds up for photo libraries, ecommerce sites with thousands of product images, and email servers.
Email Attachment Limits
Most email providers limit attachments to 25 MB. Compressing images lets you send more photos per email without hitting the cap.
Social Media Uploads
Platforms like Instagram, Facebook, and Twitter re-compress your uploads. If you start with an already-optimized image, you have more control over the final quality.
Reduce Bandwidth Costs
For websites with significant traffic, smaller images mean less data transfer, which directly lowers hosting costs.
How to Compress Images: Step-by-Step
Step 1: Open the Tool
Go to the Image Compressor on OnlineToolHubs.
Step 2: Upload Your Image
Drag and drop your image or click to browse. The tool supports JPEG, PNG, and WebP formats.
Step 3: Adjust Quality (Optional)
Use the quality slider to set the compression level. Lower quality means a smaller file. The tool shows the before and after file sizes so you can see how much you are saving.
Step 4: Download the Compressed Image
Click download to save the compressed image. All of it happens in your browser.
Image Compression Results: Real-World Examples
| Original Size | Compressed Size | Reduction | Visible Difference |
|---|---|---|---|
| 4.2 MB (JPEG) | 620 KB | 85% smaller | None |
| 8.7 MB (JPEG) | 1.1 MB | 87% smaller | None |
| 2.1 MB (PNG) | 980 KB | 53% smaller | None (lossless) |
| 6.5 MB (JPEG) | 430 KB | 93% smaller | Minimal at high zoom |
Each row is one example image, so your results will vary with the content of the image. The PNG row is a single file that compressed slightly better than the typical 10-50% range for lossless PNG compression.
Image Compressor vs. Alternatives
| Feature | OnlineToolHubs | TinyPNG | Squoosh (Google) | Photoshop |
|---|---|---|---|---|
| Free | ✅ Unlimited | ⚠️ 20 free/month | ✅ Free | ❌ $264/year |
| No upload to server | ✅ Browser-only | ❌ Server upload | ✅ Browser-only | ✅ Local |
| No account required | ✅ | ✅ | ✅ | ❌ Adobe ID |
| Quality slider | ✅ | ❌ Auto only | ✅ | ✅ |
| Before/after comparison | ✅ | ❌ | ✅ | ✅ |
| Batch processing | ✅ | ✅ (limited) | ❌ One at a time | ✅ |
| Mobile-friendly | ✅ | ✅ | ✅ | ❌ Desktop only |
Tips for Image Compression
-
JPEG quality of 75-80% is the sweet spot. Below 70%, artifacts become visible. Above 85%, the file size savings are marginal.
-
Resize before compressing. If your image is 4000×3000 pixels but will be displayed at 800×600, resize it first. Fewer pixels means a much smaller file.
-
Use WebP for the web. WebP files are 25-35% smaller than JPEG at equivalent quality, and all modern browsers support it.
-
Strip metadata. EXIF data (camera settings, GPS coordinates, timestamps) can add 50-100 KB to each image. Compression usually removes it automatically.
-
Compress before uploading to your CMS. WordPress, Shopify, and other platforms accept images as they are, so compress them first to get the best performance.
Related Image Tools on OnlineToolHubs
| Tool | Purpose | Link |
|---|---|---|
| Image Resizer | Change image dimensions | Image Resizer |
| Image Converter | Convert between formats (PNG, JPG, WebP) | Image Converter |
| Image Cropper | Crop images to specific dimensions | Image Cropper |
| Background Remover | Remove image backgrounds | Background Remover |
| PNG to JPG | Convert PNG to JPEG format | PNG to JPG |
Try the Image Compressor Now: Free, No Signup Required
You can reduce your image file sizes without sacrificing quality, without uploading to a server, and without paying for software.
Compress Images Free on OnlineToolHubs. No account, no upload, and your photos stay on your device.
Frequently Asked Questions
How do I compress an image without losing quality?
Use the Image Compressor on OnlineToolHubs and adjust the quality slider to find the balance between file size and visual quality. At 75-80% JPEG quality, most images lose no visible quality while shrinking 60-80%.
Is it safe to compress images online?
The OnlineToolHubs compressor runs entirely in your browser. Images are never uploaded to any server, which makes it safe for personal and sensitive images.
What image formats can I compress?
JPEG, PNG, and WebP. JPEG offers the most dramatic file size reduction through lossy compression.
How much can I reduce image file size?
Typically 50-80% for JPEG and 10-50% for PNG with no visible quality difference.